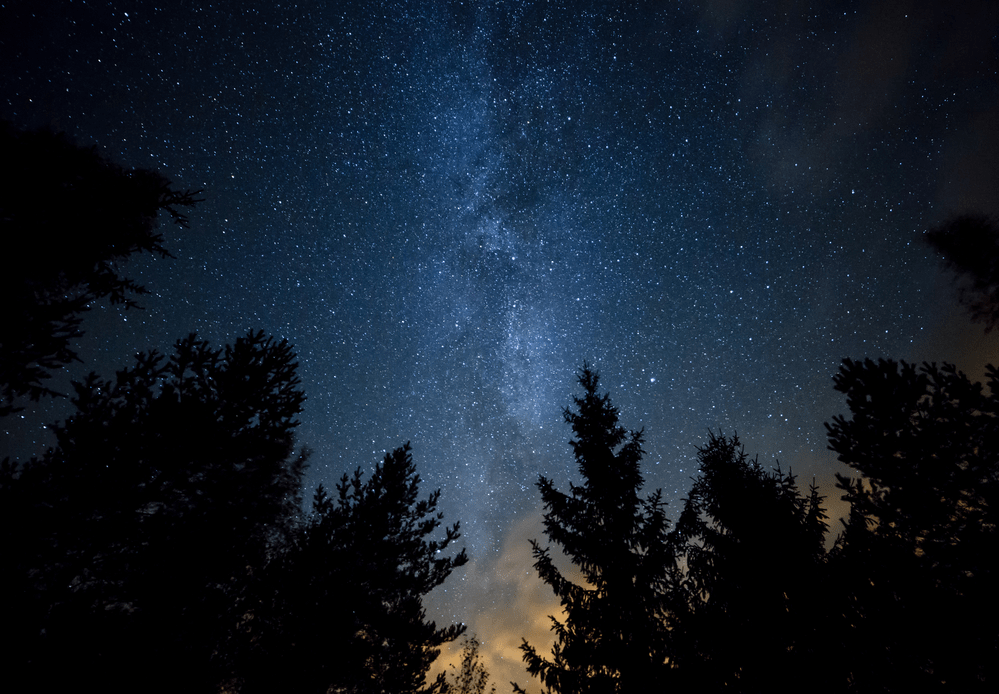
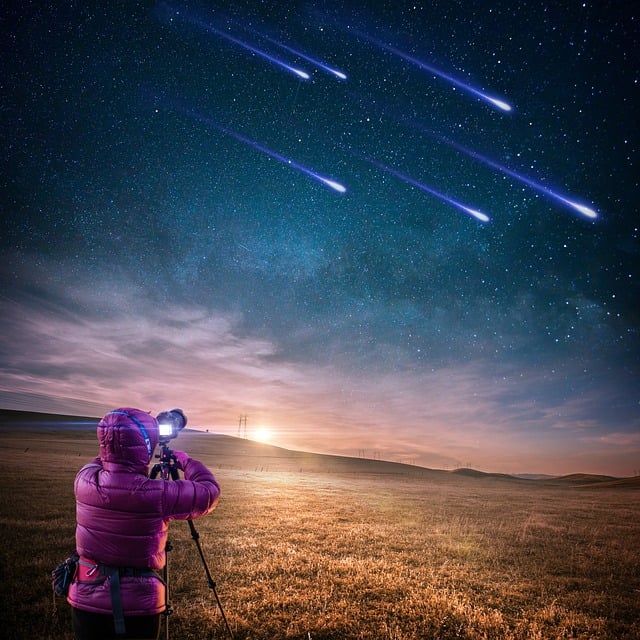
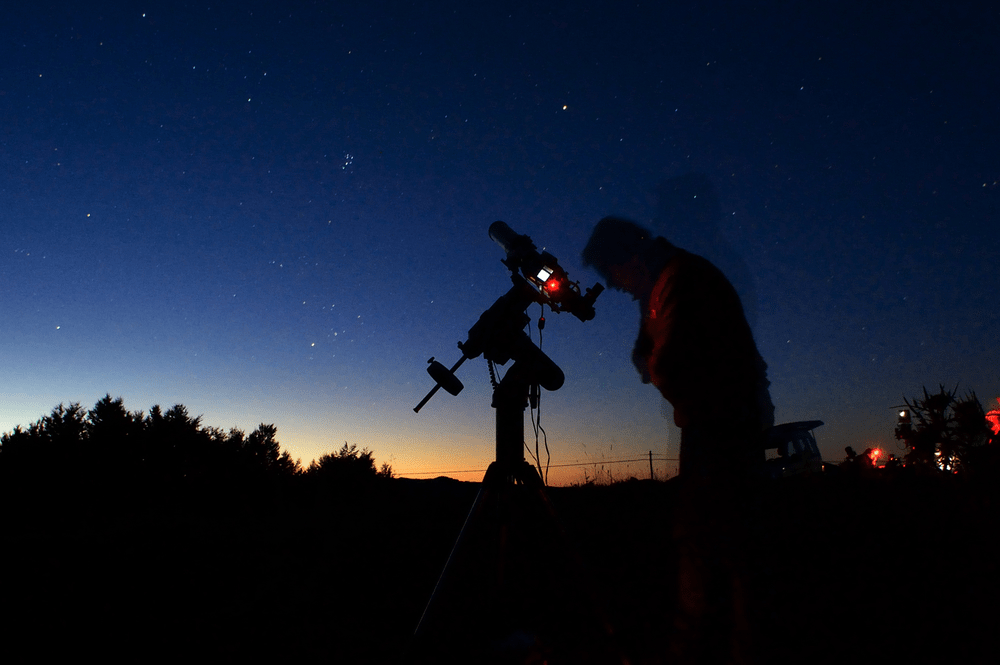
If you have ever taken a look at photos of the night sky filled with stars or photographs of the moon, then you’ve already been exposed to the art of astrophotography. You don’t even have to be an experienced photographer to get started with astrophotography. It is enough if you know your way around a DSLR camera because this device, combined with some bare essential equipment, is all you need. If you are a person who is intrigued by or interested in capturing breathtaking photos of the night sky, then this article will put you on the right path to mastering this art. We’ll teach you how to take pictures of stars in no time!

What Is Astrophotography?
The act of taking a photograph of an object in space, no matter what that object is (it can be anything from the stars to the moon), is called astrophotography. It is a complex art that requires the right equipment and lots of patience to pull it off properly and satisfactorily (similar to solar eclipse watching, in that regard!). This is because you’ll be taking the photos mostly at night. It is hard enough to take good photographs during the day time, but taking photographs at night that are sharp and do not have any degree of blurring requires a high level of dedication.
Beginner Astrophotography Equipment
If you wish to take photographs of an object in space, you require certain specific equipment to be able to capture them. You can’t hope to get into astrophotography with just a point-and-shoot camera or a vanilla DSLR. Some of the equipment that you’ll need are listed below.
DSLR Camera
Any DSLR camera, whether it features a full-frame sensor or a crop sensor, can be used for astrophotography. You don’t have to have the most advanced DSLR on the planet to start taking good photographs of space; a beginner DSLR would do just fine. (We recommend the Cannon Rebel T5 as good starter DSLR. It’s not terribly expensive and it’s flexible for many projects.)
No products found.
Camera Lenses
Most DSLRs come with an 18-55mm kit lens. While it may still be used for astrophotography, getting a fast lens with a wide aperture such as a 50mm f/1.8 lens is recommended. This is due to the fact that these lenses let in a lot more light. Also, although this is optional, having a long telephoto lens such as a 200mm or a 180mm f/2.8 lens in your repertoire will help.
Tripod
Getting a solid tripod with stabilization features built into it is essential as even a slight movement can ruin your shot when taking long-exposure photos. Look for a tripod that has a center hook to add weights to stabilize it. Also, rubberized feet with retractable metal spikes will be helpful.
Remote Shutter Release
The remote allows you to operate the camera without you having to even be near it. This can be really advantageous as any blur-inducing movement can be eliminated completely.
Tips for Astrophotography Beginners

With the right equipment in tow, you can start your astrophotography journey by going through some of the tips and tricks listed below.
Choose a Dark Spot
With astrophotography, you’ll be shooting at night 98 percent of the time. In order to be able to properly and vividly capture the night sky without any loss in detail, you’ll need to get to a place where it is extremely dark. This is because light pollution plays a huge factor in how your night photos are composed. Light pollution is excessive and unwanted artificial light. With the advent of electricity and the various bright lights shining through our cities, we have lost the potential to view the night sky unhindered. This is why choosing a dark spot is essential. That’s when you’ll be able to view the stars clearly without light or air pollution messing with your shot. You can utilize tools such as darksitefinder.com to find a place to start your astrophotography adventures. Once you’ve identified a spot, it is recommended that you visit that place during the daytime to assess if it is safe enough for you to camp.
Get a Light
When shooting in the dark, possessing adequate lighting to navigate the area is essential. As astrophotography requires long exposure times and shutter speeds, even slight movement can prove to be detrimental to the shot. In addition to that, you’ll also have to spend extra time setting up the camera all over again. To avoid all of this, you can get an adjustable headlight. A headlight that can be dimmed allows you to clearly see the dials and buttons and make your way around the camera without affecting its exposure. Also, carry a powerful flashlight with you when going out for a shoot. The flashlight can be used to carefully navigate your way through the spot and can illuminate the surroundings. It can also be used to shine light on nearby landscapes such as trees or other objects to get an interesting shot.
Shoot RAW
Any camera, whether it is a simple point-and-shoot or a DSLR, does not display the information as it was captured by the sensor. The photo is post-processed by the camera as soon as the shot is taken, and the resulting image is what is displayed to you. This post-processing technique compresses and discards a lot of the information captured by the sensor. Choosing to shoot photographs in RAW format gives you full control over the image as the camera avoids compressing or processing the image data captured by the sensor. With RAW images, you retain full editing functionality over the image and the quality wouldn’t deteriorate when trying to post-process the image. This is why photos taken in RAW are always larger in size when compared to JPEG images.
Camera Settings
This is the most vital tip that most photographers starting off with astrophotography miss. Without the right settings, you can never capture a good enough photo. Learning how to tweak your camera’s settings before you start your trip is essential as it saves a lot of time. First off, set your camera to manual mode and your lens to manual focus at infinity. This will give you complete control over the setup. Use live-view to position and compose your shot. If you’re using a fast lens such as the 50mm f/1.8, start off at a narrow aperture of around f/4 with an ISO of around 600. If the shot seems a little dark, with not enough light being captured, then lower your aperture and increase your ISO a little till you get the right amount of contrast and lighting.

Rule of 600
Once you have your camera settings ready, it is time to round up on the shutter speed that you should use. To arrive at this value, you can use the rule of 600. According to the rule, you’ll have to divide 600 by the focal length of the lens that you are currently using. For instance, if you’re using a 28mm lens, then 600 divided by 28 will get you a value of 21.42. This means that you can leave the shutter open for around 21 seconds to avoid capturing the movement of the stars, which might otherwise introduce blur into your photos. If the shutter speed is either too slow or too fast for your shot, then tweak your aperture and ISO accordingly.
Evaluate Your Photo
As you know by now, setting up the equipment and camera settings to capture the perfect shot can be a time-consuming affair. Therefore, before you move to another spot or wrap up for the day, transfer the images that you took onto your laptop. By doing this, you can view your images in a big enough screen to spot any aberrations and still be able to take another shot if you feel that the photo was not up to your standards. Always remember to take a minimum of 5 shots so that the chance of you getting a bad shot is minimized to a certain extent. Many beginners in astrophotography have relied on the small screen of a DSLR to review their photos, only to realize later that their shot was far from perfect.
Edit the Images
Most starters get disappointed and discouraged upon realizing that their shot lacks vibrancy or color and looks dull. What they fail to understand is that it is completely normal to take such photos and that it happens to even professionals in the field of astrophotography. The many images of the night sky you can find on Google and other image sites are always edited versions of the original picture. Unless you bring the colors up and correct the white balance through software such as Photoshop or Lightroom, you cannot get images like those you see online. Go over some tutorials on how to finely and accurately correct contrast, color, and white balance. Remember to not overdo it though, as it will make your photograph look a lot more artificial.
Conclusion
Now that you know what to do, all that you need is practice. Don’t worry or get disheartened if you do not get the results that you expected on the first try. Keep at it and soon you’ll find that the quality of your photos goes up drastically. Once you’ve gained some experience, you can expand your skills by taking up deep sky astrophotography, which requires a telescope and other advanced equipment. Deep sky photography lets you capture things that are far beyond the ordinary night sky, such as planets, the moon, and even galaxies.
Last update on 2024-07-27 at 01:59 / Affiliate links / Images from Amazon Product Advertising API
Leave a Reply